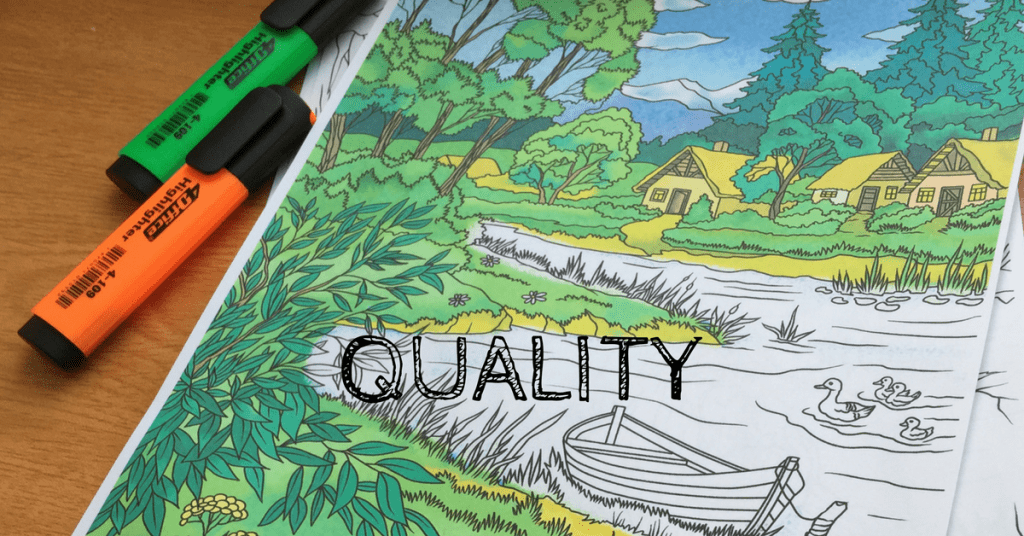
As a passionate colorist, you probably have a couple (or way more) of adult coloring books in your collection. There is a huge variety of options out there featuring different topics (nature, animals, people, mandalas) and different prints (spiral bound, paperback, hardcover), so you will surely find something to your taste. But what happens after you get your perfect book and suddenly realize that while the drawings are absolutely top-notch, the print is just “ugh”? When it comes to having the best coloring experience, printing quality is no less important than the quality of designs. But can we really have it both ways? Yes, we can! And in this article, you’ll know exactly how! Read on and don’t miss a thing!
First of all, let’s take a look at these typical problems every colorist faces at some point:- paper jams
- smudging
- bleeding
- cut-offs or too small designs
- pale colors
To avoid these issues you can always invest in highly-rated paperback editions with perforated pages that promise “no bleeding” or print the eBooks and coloring pages yourself using specific printer paper. We will talk about the second option in detail and suggest a few smart tips to help you choose the best type of paper and pair it with the right coloring tools to get the most from your coloring sheets.
Choosing the Printer
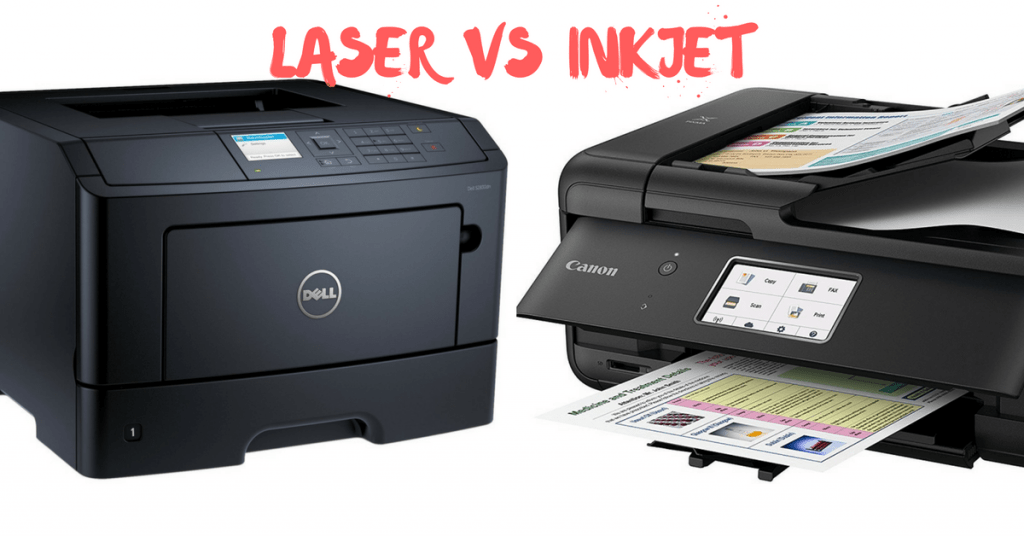
Inkjet printers use water-based ink making the printing process more challenging because coloring pages are still wet once printed. To avoid smudging the drawing you have to wait for at least 30 minutes before you can safely color it. We recommend staying away from applying moisturizers, hand creams or lotions before coloring to save the lines of the designs from smearing. Always try to keep your hands dry – the main rule for colorists who use inkjet printers.
Laser printer ink is dry, so you don’t have to wait and it won’t smudge when you go over the coloring pages with a marker, pencil or pen (no matter what paper you used). However, this does not mean you should throw away your inkjet printer and replace it with a laser one. If you consider buying a new printer, analyze its future usage before you make a choice. Inkjet printers are great for photos and do a better job of blending smooth colors. They are cheaper and can work with many types of paper (glossy paper, textured etc). Laser printers are perfect to produce sharp black texts and drawings, can print faster and the toner is cheaper (although there’s a possibility of leaks).
What Tools to Avoid?
Water-based markers will smudge the printed lines even if your coloring pages are absolutely dry since these markers and inkjet ink are both water-based. At the same time, colored pencils can also smudge your printables because of the oils from the wax in the lead. Crayola Super Tips are very popular among colorists, however, if you are using inkjet printer the result will upset you with the smudged lines no matter what paper type you choose, just because they have a similar formula. Try using Prismacolor Premier Markers to get the most from your coloring pages.
Using the Right Printer Settings
When it comes to the printing process many colorists find it hard to handle its seemingly complicated technical side. But the first and the easiest thing we can recommend would be staying away from the default paper settings. The firmware settings in your printer treat every separate A4 paper sheet as a “plain paper” meaning that there is no need to spend ink or toner to print a high-quality page. The good news is that you can easily change all these settings with just one click. Check the “Best Quality” and “Specialty Paper” in the settings before you start printing. This will make your printer use more ink and the result will be different from the default (optimal) printing settings. If you prefer thin lines which make coloring pages look more like a sketch, choose “Draft” quality.
There are lots of printers with different user interfaces out there. If you want to achieve the best result, find a manual for your printer model and do a quick research. You can also “google” your printer vendor and model adding the word “manual/guide/tutorial”.
Perfect Paper for Your Coloring Pages
Before considering the paper options that are offered in the modern market, let’s have a quick look at the two key paper characteristics that we need to pay attention to:
- Weight. Depending on the paper vendor, the package will either show weight in pounds (lb) or GSM (grams per square meter). You can experiment with a paperweight, but make sure that your printer has the highest supported GSM specified in the user guide. Otherwise, this paper can be jammed.
- Fibers. The most common types of paper are made of cellulose and cotton. The first one is cheaper but less durable. The cotton paper is considered to be of a higher quality.
Printer Paper
A truly affordable paper is Xerox Premier Copier Paper Multifunctional 80 gsm, ideal for daily use, meaning that this may be your go-to choice when it comes to printing designs. It is quite thin, 80 gsm, works well with inkjet and laser printers, perfect for felt pens and colored pencils.
Bleedproof Paper
A paper that is very popular among colorists who use markers is produced by Bee Paper – Bleedproof Marker Pad. Undoubtedly it will cost you more but the quality of your artworks will be impressive. For a better effect, you can use alcohol marker pens that give bright colors. Unfortunately, they can cause bleeding – when the ink spreads through the standard printer paper it creates jagged edges thus spoiling your work. With bleedproof paper you will avoid bleeding, just make sure to print on the bleedproof coated side.
Watercolor Paper
If you are a fan of watercolor pencils or paints, you might need to invest in a special paper. A thick paper will absorb the wetness that appears after using watercolors. Plus water-based paint causes paper warping and crinkling as it dries. Watercolor paper is much thicker than the usual printer paper and can have smooth (hot pressed) or textured (cold pressed) surface. Experienced colorists use textured paper to add a special twist to an artwork. Beginner artists can save some money by using 300 gsm paper, which is still good to work on, but may require stretching. Watercolor paper is generally white or cream to give the paint a luminescent look, but you can find this paper in different colors or tints.
Let’s Get it Started!
Now that we talked about printers, their settings, and paper, it’s high time to move on to the final step which is the actual printing. What happens after you click that “Print” button? How to ensure that your coloring pages are perfectly sized so that the future artworks won’t be too small or extended over the paper edges?
Many online printable coloring pages come in a jpg format. Now let’s make sure you know how to properly size the jpg file to a page. If you have a pdf reader (Acrobat, Foxit) you can convert the initial jpg file to pdf or do it online here or in Chrome Browser as shown here.
If you don’t wish to convert, try printing the images with the Windows Photo Viewer. This is how you can easily do it:
- To associate your image files with Photo Viewer in Windows 10, right-click on any downloaded coloring and navigate to “Open with” option and select “Choose another app”.
- In the “How do you want to open this file?” window, select Windows Photo Viewer. If you don’t see it at first, scroll to the bottom of what’s listed and click the “More apps” option and it will show up. Select the “Always use this app to open jpg files” option, and then click “ OK.
Windows Photo Viewer will now be the default image viewer for that type of image file and you can print using this program. Check this tutorial on how to print photos with Windows Photo Viewer, but you can easily start with finding and checking the option – fit one page. In this case, your design will come out perfectly sized and printed on the entire page.
Tell Us What You Think!
We hope that the tips given in the article will help you achieve great results in adult coloring. It may seem a bit complicated to keep all these details in mind but once you find out what combination works best for you, it will be easier to forget about technicalities and concentrate on creativity. Do you need some inspiration to get started? Check out this awesome interview with a very talented colorist Irena Herman. She shared her coloring secrets and smart tips that will take your art to the next level!
Did you find this article helpful? Leave your COMMENTS and FEEDBACK below!